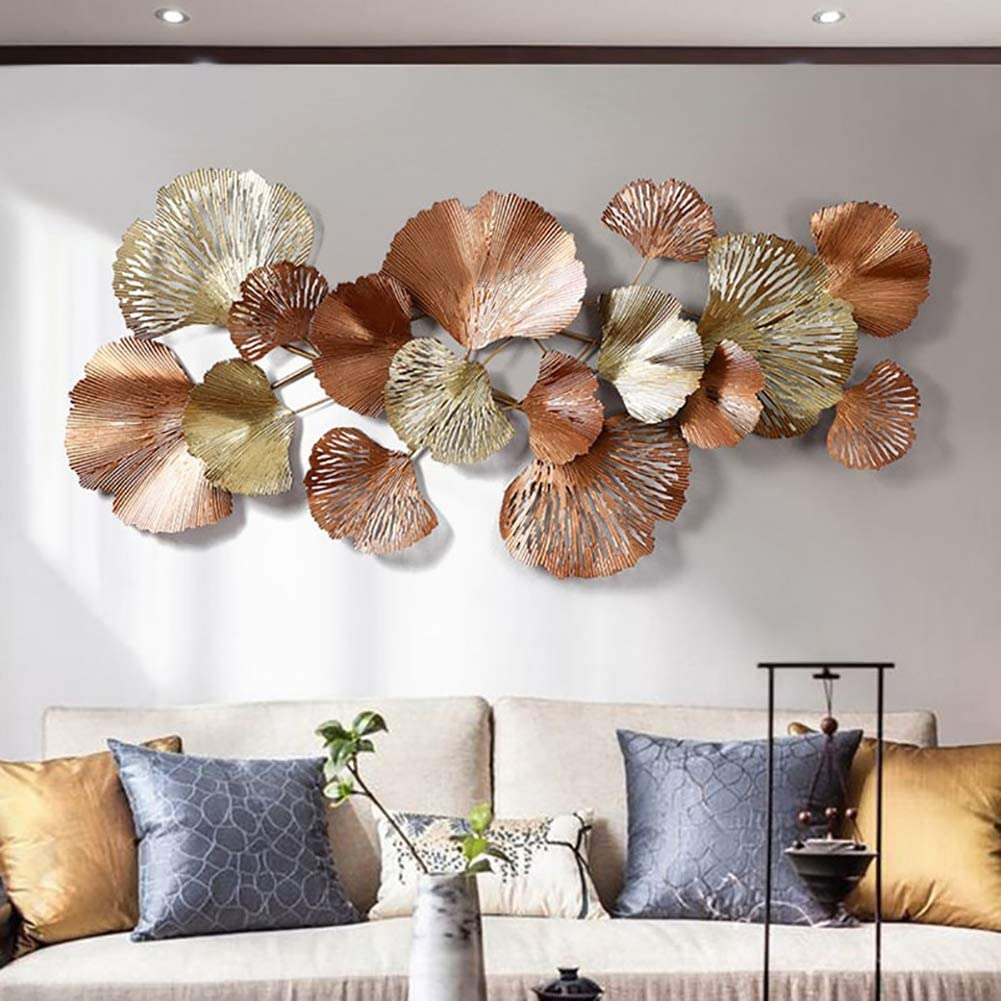
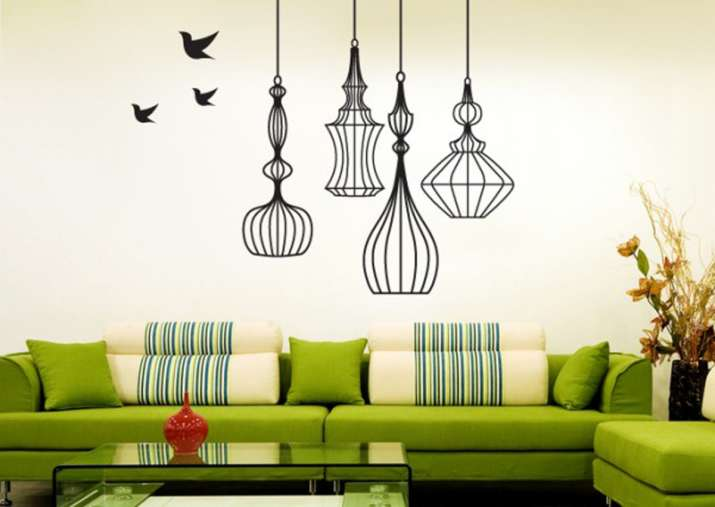
Summer is coming to an end and autumn is coming! It is slowly getting cooler outside, the days are getting shorter and you will be spending more and more time at home again. So try work more on wall art.

How can you better survive the colder months in your 4 walls? Our idea: with bright and beautiful murals that you designed yourself! Whether at home or at work we have 4 tips on how to decorate your walls in advance for the cold months:
# 1 - Choose the right photos for wall art
Match the colors on your photos to match your interior design! Or if you really want a change - throw out the furniture, repaint the walls, and adapt your interior to your photos!
Adapt your pictures to your furniture
Insider tip: You can't find any pictures that match your interior design so far? Moreover, go outside and take new photos for wall art!
# 2 - The one perfect moment, but so many perfect photos
You can't just choose one photo for your canvas, forex, and acrylic or aluminum glass? Similarly, you don't have to! Make a collage with lots of pictures.
Tell a story by selecting multiple photos from the same moment (like this couple eating ice cream).
# 3 - Let the room decide
Hobby room, nursery, kitchen - choose photos that are adapted to the purpose of the room to create an impactful space. Furthermore, create a collage for your hobby room.
Insider tip: Add a frame to your canvas to make your pictures even more impressive for wall art.
# 4 - Wall of Fame
Don't forget your office - it needs to be spruced up too! Create a "Wall of Fame" with pictures of all work colleagues on it. As soon as new colleagues join, you can easily expand this mural!
Insider tip: If you don't have enough space on your wall, create a photo book with your colleagues' pictures instead.
Have we been able to inspire you? Choose your mural from different sizes and formats and easily create your own beautiful wall decoration for your home!
How can you decorate walls?
Of course, wall art are ideal, but especially in spring you can bring a piece of nature into your home! We explain how to create a modern wall decoration with the help of a branch and a few photo prints. With a new decoration, every room shines in new splendor. Have fun walking in the countryside and doing handicrafts afterwards!
Spring can't be stopped anymore! And while taking a walk in fantastic temperatures and sunshine, this DIY suddenly came to my mind. That's why I took this branch with me from the forest. He is on two nails and the photos dangle under him like a mobile.
Attaching the pictures to the branch requires a bit of patience and sensitivity, but otherwise everything is very easy for wall art. The photo mobile looks really absolutely cool on the wall - whether in the living room, children's room or in the hallway! And this is how it's done:
DIY with nine photos on a branch
Material & tools:
- 18 photo prints , 10 x 15 cm or 9 square prints , black and white or in color
- a dried branch about 80 cm long
- Punch pliers
- Adhesive
- thick package cord
- ruler
- Pen
- scissors
In addition, you can work with macramé or a second branch to embellish this mobile. Both DIYs complement each other perfectly, especially on larger wall art.
Step 1: prepare the photos
Take the photo prints and glue two back to back on each other. Let the glue dry. If you work with square prints, you can print them directly on both sides.
Step 2: mark the holes
With the help of a ruler, mark the two places on the 9 double photos where the holes have to be punched with the punch pliers. With this format, the marking must be made 5 cm from the left or right edge and 1 cm below the top edge and 1 cm above the bottom edge.
Step 3: punch holes
Now you take the punch pliers and punch a hole at each of the markings about the size of the diameter of the parcel cord on wall art.
Step 4: prepare the parcel string
To attach the photos to each other, you need the following lengths of parcel cord: 3 x 45 cm, 6 x 25 cm and 3 x 15 cm.
Step 5: attach top cords for wall art
Fasten the three cords with a length of 45 cm to the branch with a knot and then knot the first three photos with a double knot at the other end of the cord. Scissors, parcel string and ruler.
Step 6: Knot the remaining photo prints
When the first three photos are attached, you take three cords of 25 cm length. You know these to the bottom hole of the first three photos.
A simple knot is sufficient here. Use the other end of the string to tie the second row of pictures, etc. You do this until all nine double photos are tied together to beautify wall art.
Step 7: finish with a double knot
Finally, the three 15 cm long cords come on. You attach it to the bottom with a double knot at the bottom perforation of the three lowest pictures. The package cord is knotted.
What is expert wall art tip?
Just make light knots at first so they can be easily opened again. Do not tighten the knots until your entire work of art, including the branch, is on the wall.
On the wall art you can see much better whether all photos are really hanging at the same distance or a knot still has to be moved. Once the photos are aligned, finally tighten the knots and cut the ends of all the cords to a uniform length. Complete!
Several photos: a nice wall decoration.
The DIY becomes a special eye-catcher when the color of the wall is coordinated with the photographic wall decoration. What do you think of this wall decoration? Write it in the comments!
